When it comes to diffusion filters, there are various brands you can find in the market including Tiffen Black Pro-Mist, K&F Black Mist, Moment Cinebloom and Prism Lens Dream FX which you frequently heard of. Many photographers use diffusion filters to create creative images for their travel, streets and portrait photography.
If you have read about the diffusion filter guide, this post will mainly focus on how to use the Cinebloom creatively. This is not a sponsored post and is written based on my experience while using the Moment Cinebloom diffusion filter. I have been using this diffusion filter for most of my street photography projects and portrait shoots.
What Are So Good About Diffusion Filters?
Diffusion filter, which is known as one of the best creative lens FX filters to create a dreamy effect and soften highlights for both photos and videos. This filter sometimes is used in music videos and movie films. Honestly speaking, the quality build of the Moment Cinebloom is excellent, especially the red outer ring which represents their brand can be easily recognized when you see one.
Diffusion filters work well when shooting videos including travel videos, music videos, vlogs and so on. As a Fujifilm shooter, I have been using the filter for shooting short video clips for my film projects and Fujifilm SOOC recipes are the Tokyo Dream recipe. You can find a few film simulation recipes that use the diffusion filter.
The filter comes with different filter strengths, 5%, 10% and 20%.
Shooting Portraits with the Cinebloom
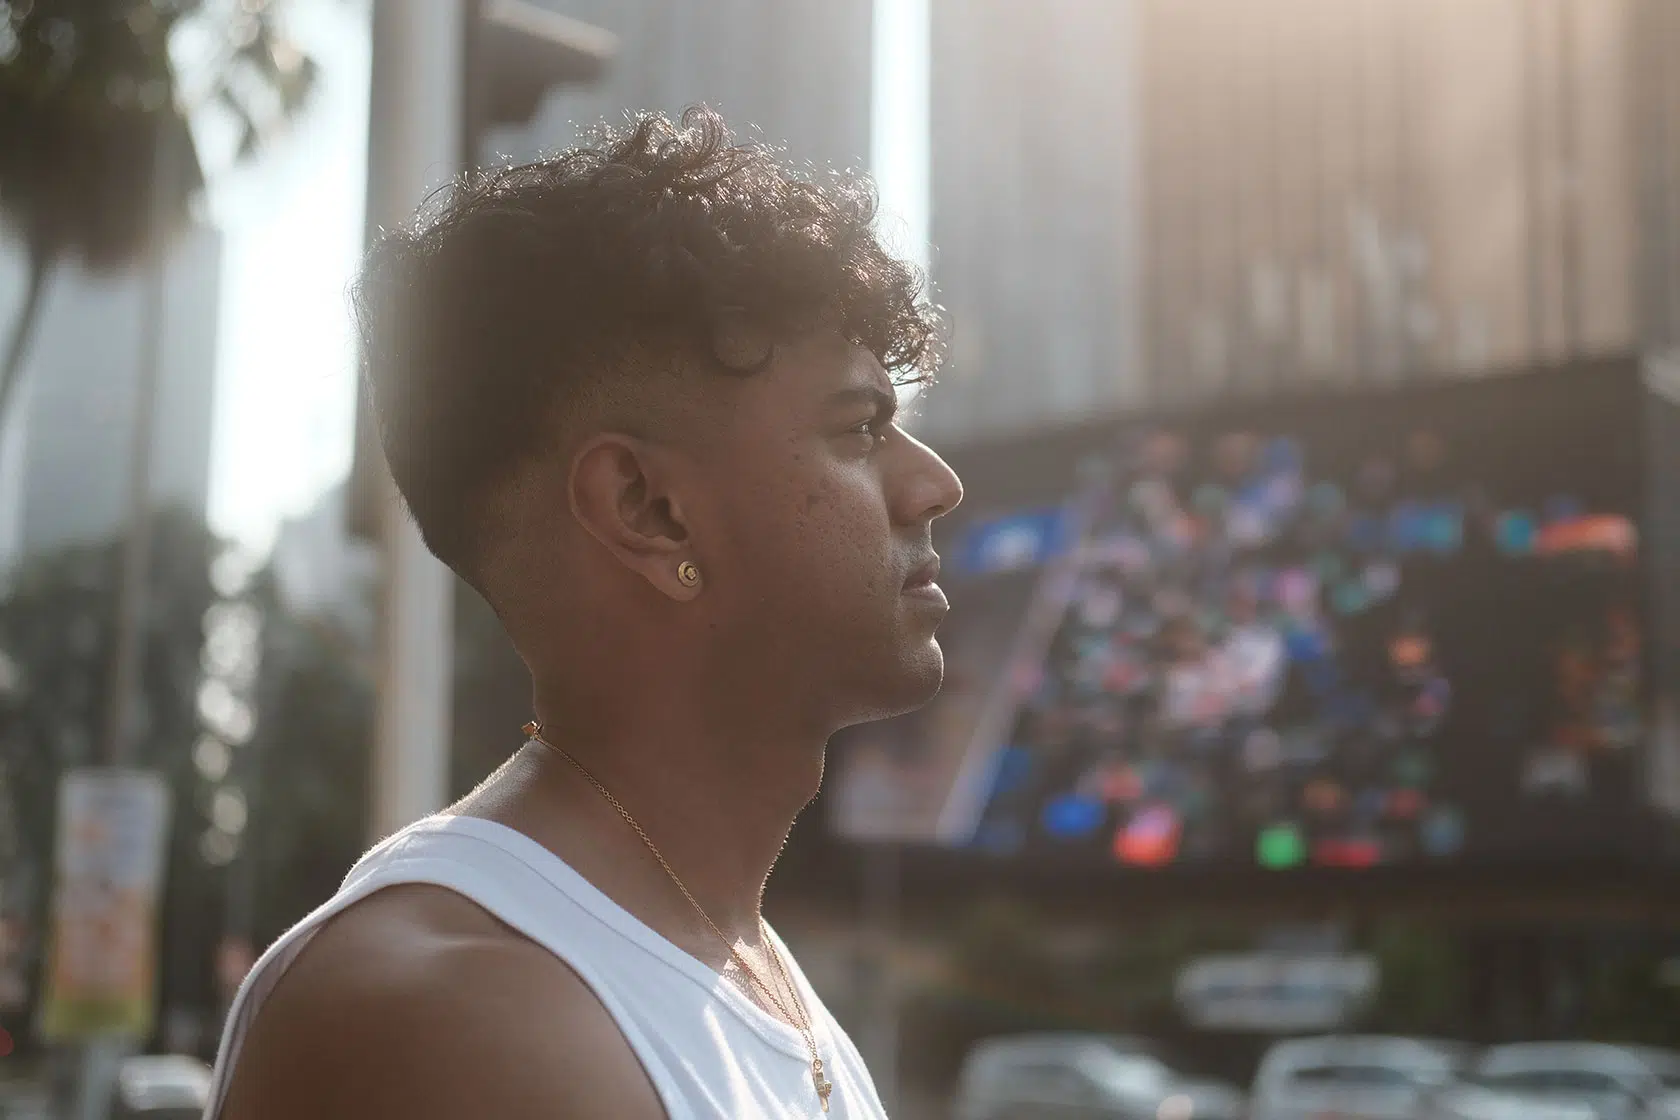
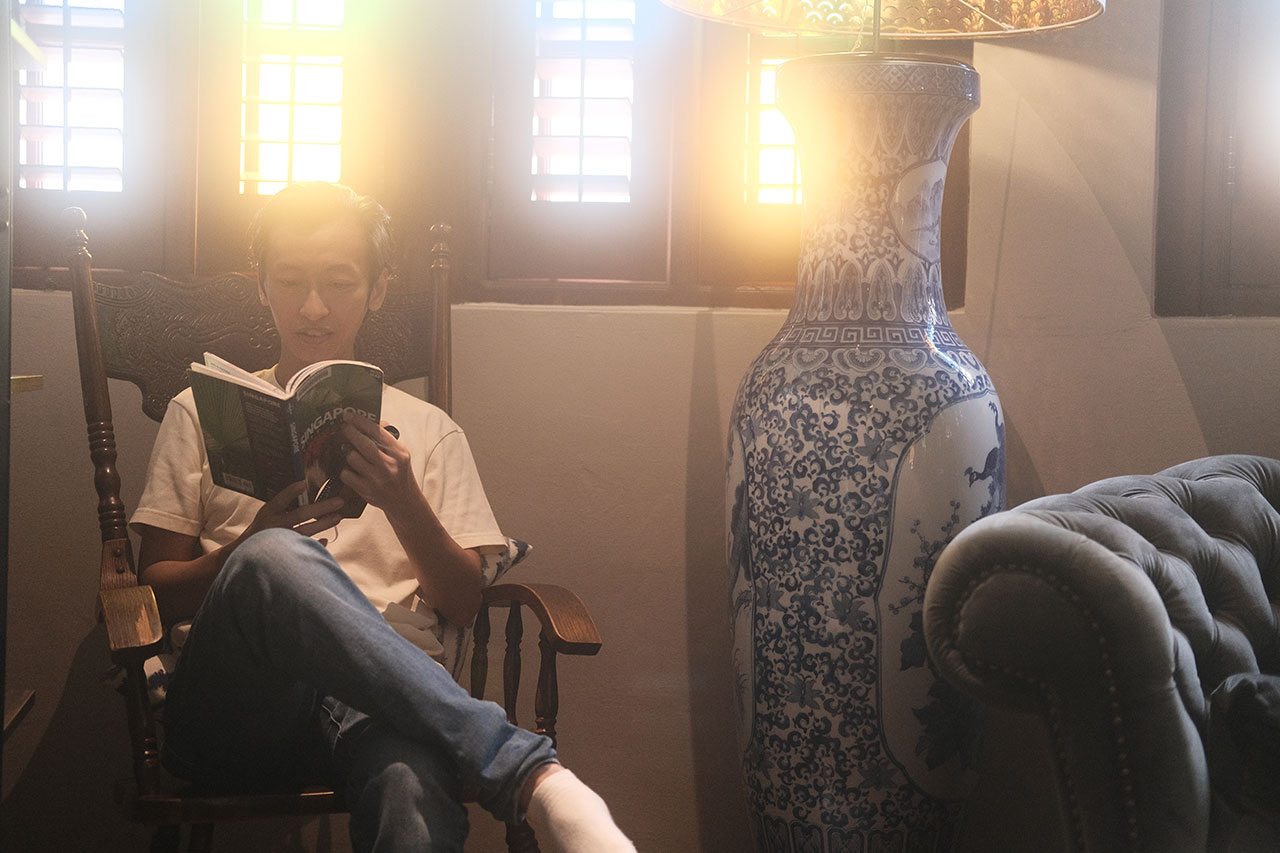
I like how my photos turned out dreamy and always go for the glow when using the backlight technique. This let me create a cinematic look kind of photograph. I have been shooting portraits for quite a while, and have been using the Cinebloom filter with 20% density for most of my portrait work. It was attached to my Fujinon XF35mm F2 lens all the time. Sometimes when I travel, I will also shoot with the Cinebloom and the outcome is amazing.
Can I Use Moment Cinebloom For Film Photography?

When it comes to film photography, using the Cinebloom on a film camera sometimes can be on and off. Correct me if I’m wrong. It might and might not work in some situations, in which I have done experiments on my film cameras. I can’t find any source about the Moment Cinebloom on film cameras, so I decided to explain it here.
When using a diffusion filter on film cameras, the film results can be different compared to shooting with digital cameras. The dreamy effects are subtle when used on film cameras. You’ll less likely to get dreamy effects on film cameras if didn’t expose your film properly or have bad lighting around you.
Based on my experiment, you’ll get a matte look on film during the day and the bloom effects when you’re shooting at night. Here are some Kodak Vision3 500T film photo samples shot at night with a Cinebloom filter attached. Always go for the available light and you’ll get those bloom-on film cameras. It’s just my own opinion and experimenting with the diffusion filter on film cameras. It’s all about trial and error. You can give it a try and the results can be different.
One Filter for All Lenses? How does It work?
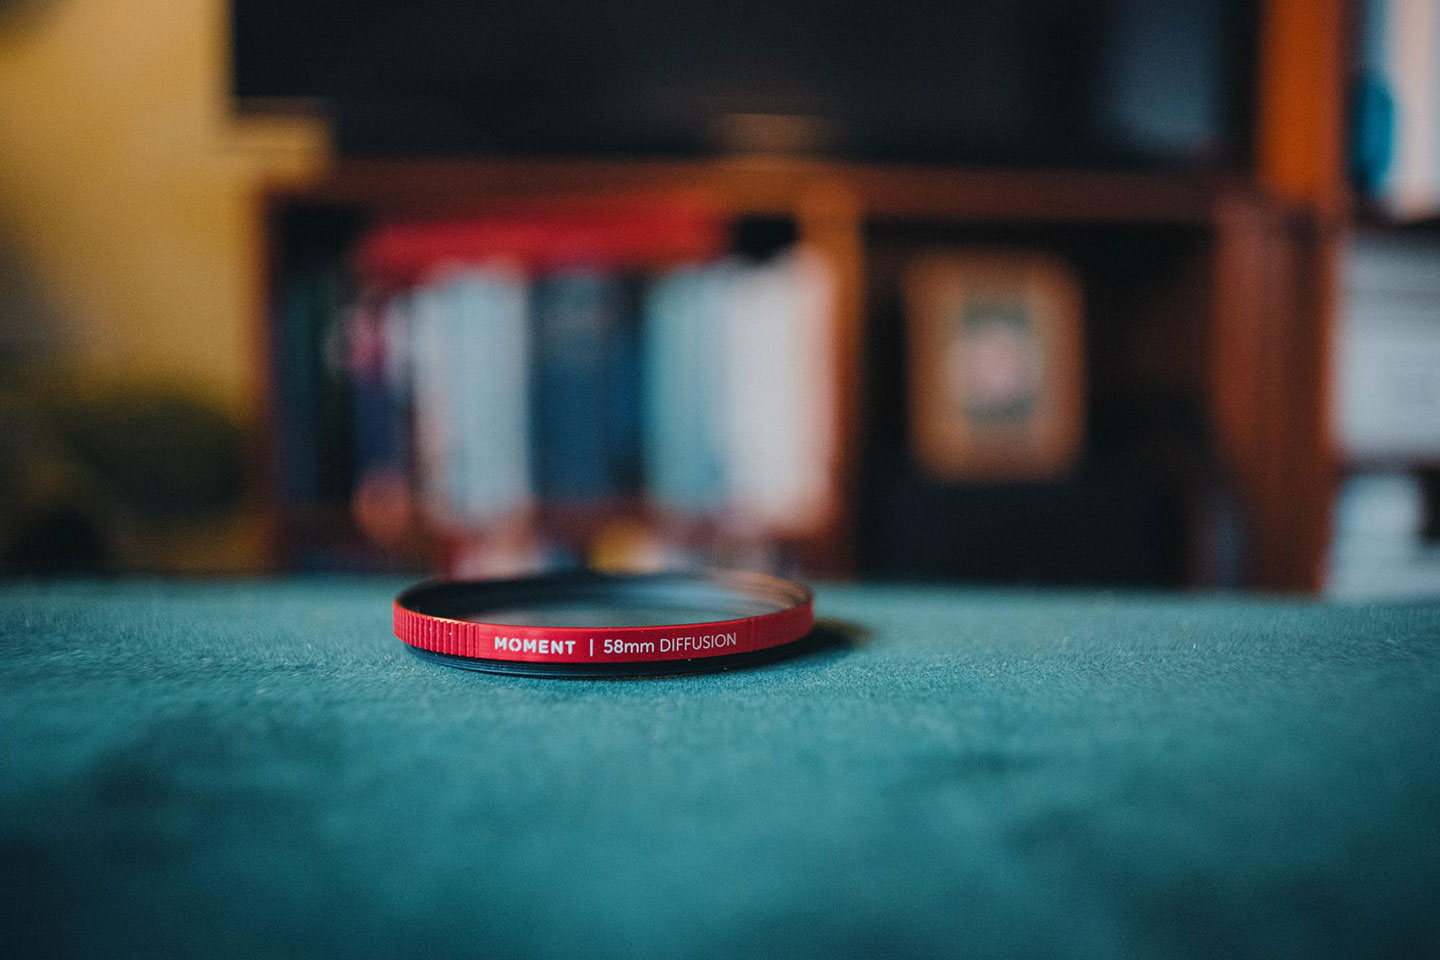
If you have different lenses and would like to use the same filter on those lenses, you can save costs by getting the step-up rings. For example, if you bought a 77mm diffusion filter and would like to use it on all of your lenses, then you should check what are the lens filter thread sizes for your lenses.
Then you get all the step-up rings with the correct filter thread sizes. Now, you can swap your diffusion filters by using the step-up rings whenever you change lenses. This saves you from buying lots of diffusion filters unless you wanted to try different brands.
Final Thoughts
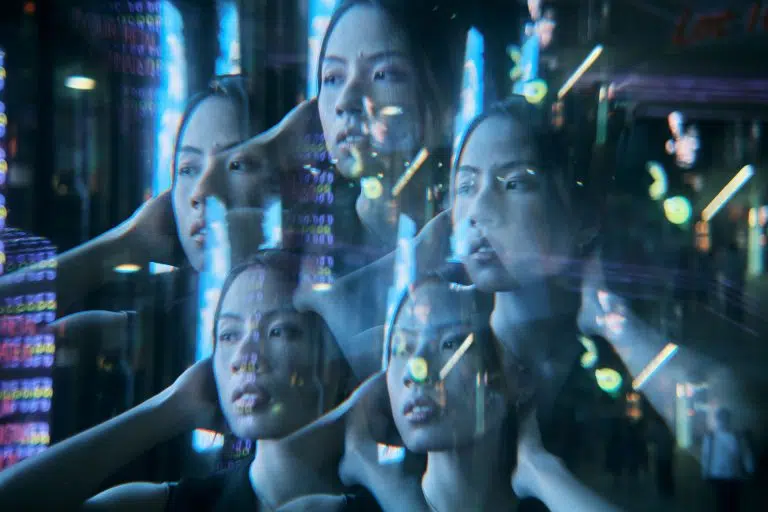
Shooting with the filter is all up to your own choice, whether you’re trying to achieve something new, creative or just for fun. It works well for street photography, creative portraits and travel photography and is great for indoor shoots and night portrait shoots!
As a personal vacation photographer, I always like to create something dreamy for SOOC portrait shoots and always let them know that I will be creating something nostalgic for them. If the effect is too strong for your photoshoot or photography, you can always use a lower density to minimize the bloom but still maintain the ‘dreaminess’.
If you are planning to get the Moment Cinebloom diffusion filter, you’re making the right decision, the filter does come with a nice round casing and a cleaning cloth. When you’re ordering one from the Moment website, make sure that you find the correct filter thread size for your lens, and also order one with fast shipping!
What do you think? Do you shoot with a diffusion filter often? I hope this quick little guide will help you get the correct filter for your next shoot.
Happy shooting.



One Response
hey there! Thanks for sharing, it’s making me want to pick up my old film camera and shoot something right away.
But do you know by any chance I can get one of these Moment Cinebloom Diffusion Filter in Malaysia?
Or is there any alternatives for it?